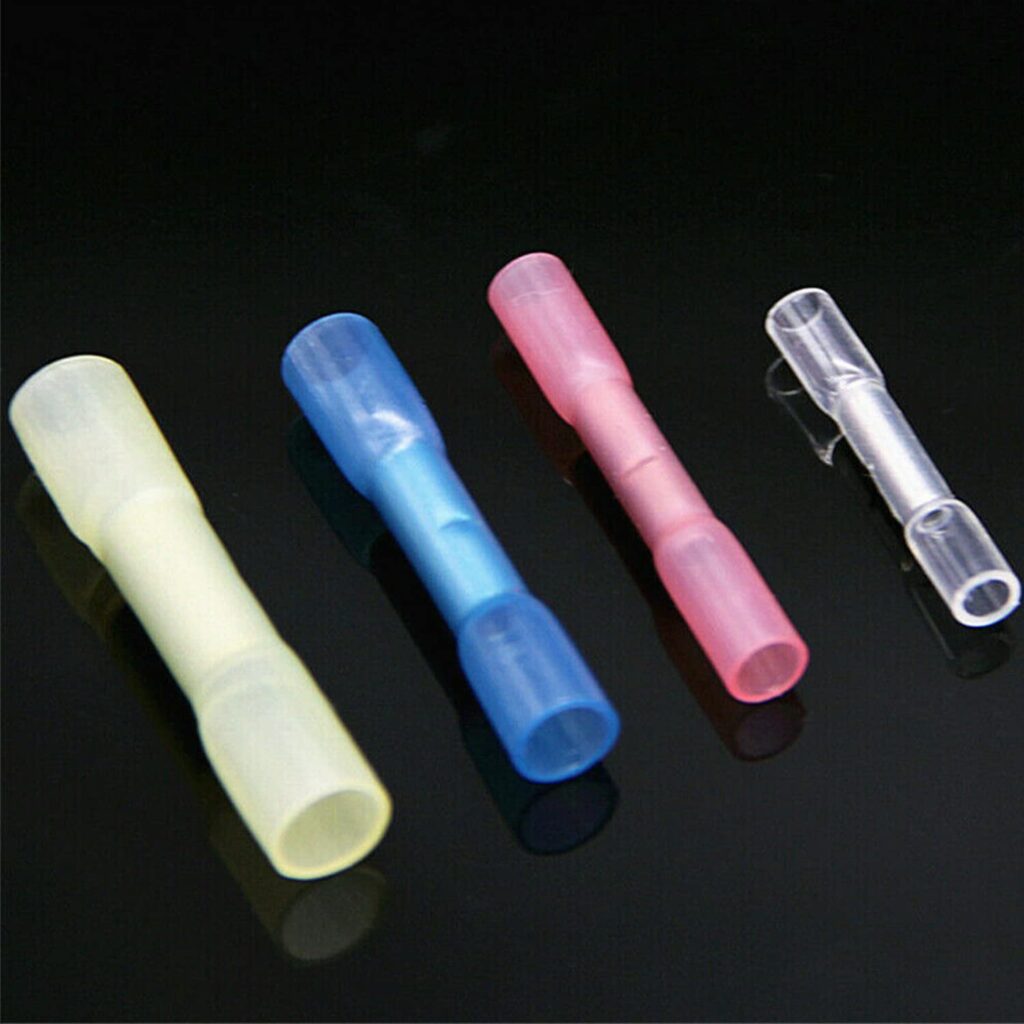
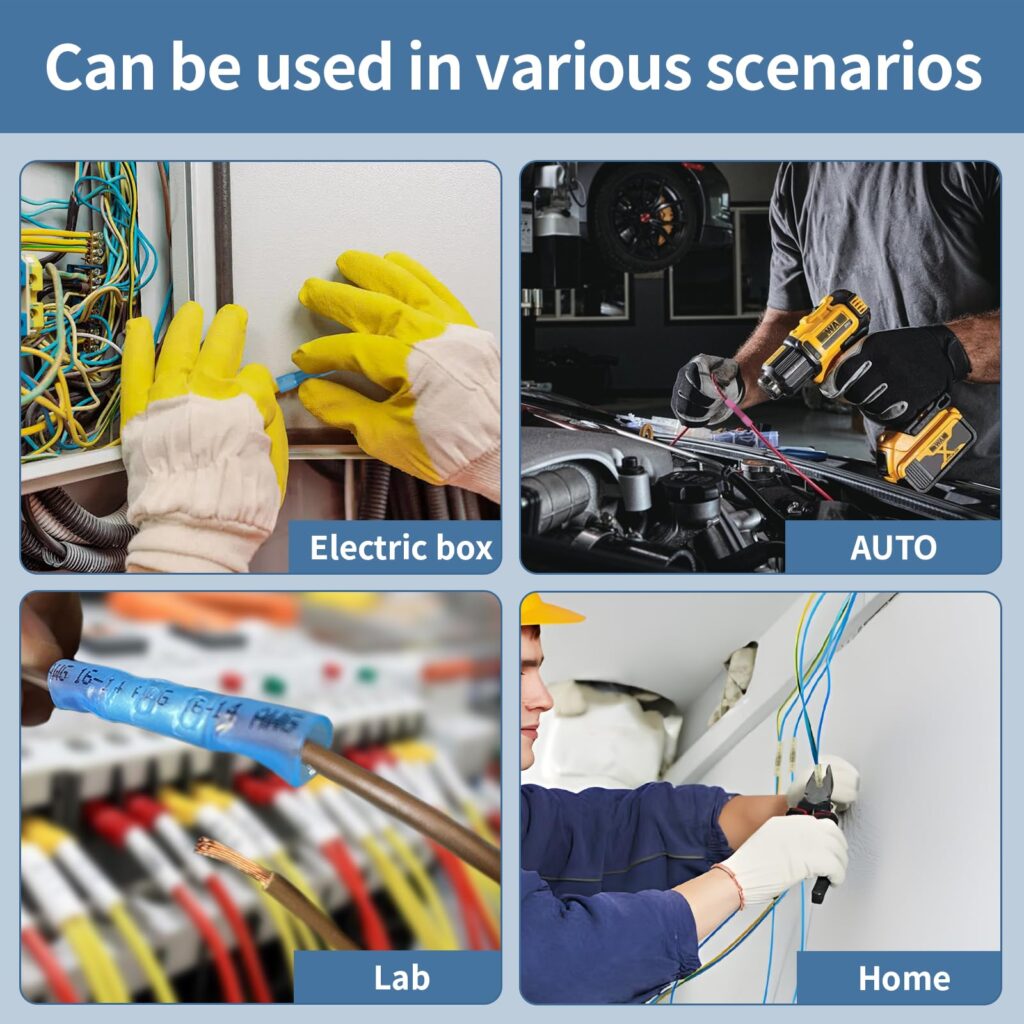
Heat shrink butt connectors are insulated splice connectors that join two wires end-to-end while providing waterproof protection through heat-activated shrinking sleeves. These connectors create permanent, reliable electrical connections in automotive, marine, and industrial applications where moisture resistance and vibration protection are critical for safety and performance.
What Are Heat Shrink Butt Connectors?

Heat shrink butt connectors are electrical splice devices consisting of a metal crimp barrel surrounded by heat-shrinkable tubing with adhesive lining. When heated, the outer sleeve contracts and the inner adhesive melts, creating a completely sealed, waterproof connection that protects against corrosion, moisture, and environmental contamination.
Key Components:
- Metal crimp barrel: Tinned copper construction for optimal conductivity
- Heat-shrink sleeve: Cross-linked polyolefin tubing that contracts when heated
- Adhesive lining: Hot-melt adhesive that creates waterproof seal
- Color coding: Wire gauge identification for proper sizing
Heat Shrink vs. Standard Butt Connectors: Key Differences
| Feature | Heat Shrink Butt Connectors | Standard Butt Connectors |
|---|---|---|
| Moisture Protection | Waterproof seal with adhesive | Open to environmental exposure |
| Installation Method | Crimp + heat activation | Crimp only |
| Environmental Rating | IP67-IP68 waterproof | Basic insulation only |
| Cost | $0.15-$0.50 per connector | $0.05-$0.15 per connector |
| Applications | Marine, automotive, outdoor | General indoor electrical |
| Connection Permanence | Permanent sealed bond | Removable connection |
| Temperature Range | -55°F to +257°F (-48°C to +125°C) | -40°F to +221°F (-40°C to +105°C) |
| Vibration Resistance | Superior with adhesive seal | Standard crimp connection |
Primary Applications for Heat Shrink Butt Connectors

Automotive Electrical Systems
Heat shrink butt connectors are essential for automotive repairs and modifications where connections face extreme temperatures, moisture, road salt, and constant vibration.
Common Automotive Uses:
- Trailer wiring harness repairs
- Headlight and taillight circuit connections
- Engine bay sensor wire splicing
- Audio system installations
- Battery cable repairs
Marine and Boat Wiring
The marine environment demands completely waterproof connections to prevent corrosion and electrical failures that can compromise safety systems.
Marine Applications:
- Navigation light wiring
- Bilge pump electrical connections
- Fish finder and GPS installations
- Deck lighting systems
- Engine instrumentation wiring
Outdoor and Landscape Lighting
Outdoor electrical installations require weather-resistant connections that maintain performance through seasonal temperature changes and moisture exposure.
Landscape Applications:
- Low-voltage LED lighting systems
- Sprinkler system control wiring
- Pool and spa electrical connections
- Outdoor security camera installations
- Pathway and garden lighting
Industrial and Heavy Equipment
Industrial environments subject electrical connections to vibration, chemical exposure, and extreme operating conditions requiring superior protection.
Industrial Uses:
- Heavy machinery wiring repairs
- Control panel connections
- Motor and pump electrical systems
- Conveyor belt control wiring
- Safety system installations
Heat Shrink Butt Connector Wire Gauge Compatibility
| Connector Color | Wire Gauge Range | Recommended Strip Length | Crimping Die Size |
|---|---|---|---|
| Red | 22-18 AWG | 5/16″ (8mm) | .068″ hex |
| Blue | 16-14 AWG | 3/8″ (9mm) | .097″ hex |
| Yellow | 12-10 AWG | 7/16″ (11mm) | .128″ hex |
| White | 8-6 AWG | 1/2″ (13mm) | .188″ hex |
Step-by-Step Installation Process
Tools Required:
- Wire strippers
- Crimping tool with proper die size
- Heat gun or hair dryer
- Wire gauge verification tool
Installation Steps:
- Strip Wire Insulation
- Strip 5/16″ to 1/2″ of insulation from each wire end
- Use proper wire strippers to avoid nicking conductor strands
- Verify strip length matches connector requirements
- Select Proper Connector Size
- Match wire gauge to connector color coding
- Ensure both wires fit properly in crimp barrel
- Check manufacturer specifications for current rating
- Insert Wires into Connector
- Insert first wire fully into one end of crimp barrel
- Insert second wire into opposite end until wires meet
- Ensure no exposed copper extends beyond crimp area
- Crimp Connection
- Position crimping tool with proper die size
- Apply firm, steady pressure to create secure mechanical bond
- Inspect crimp for proper compression and barrel deformation
- Apply Heat for Shrinking
- Use heat gun on medium setting (300-400°F)
- Apply heat evenly around entire sleeve circumference
- Continue heating until sleeve fully contracts and adhesive flows
- Allow connection to cool completely before handling
Selection Criteria for Heat Shrink Butt Connectors
Environmental Considerations
Choose connectors based on operating environment:
- Indoor applications: Standard heat shrink connectors
- Outdoor/automotive: UV-resistant polyolefin sleeves
- Marine environments: Dual-wall marine-grade connectors
- Chemical exposure: Chemical-resistant sleeve materials
Electrical Requirements
Match connector specifications to circuit demands:
- Current rating: Must exceed maximum circuit amperage
- Voltage rating: Adequate for system voltage plus safety margin
- Temperature rating: Suitable for operating temperature range
- Insulation resistance: Minimum 1000 megohms for safety
Quality Standards and Certifications
Look for industry certifications:
- UL Listed: Underwriters Laboratories safety certification
- CSA Approved: Canadian Standards Association approval
- RoHS Compliant: Restriction of Hazardous Substances compliance
- SAE Standards: Society of Automotive Engineers specifications
Professional Installation Tips
Crimping Best Practices
Critical Crimping Guidelines:
- Match die size exactly to connector barrel size
- Apply crimp in center of barrel for optimal contact
- Inspect crimp for proper barrel deformation
- Perform pull test to verify mechanical strength
Heat Application Techniques
Optimal heating ensures proper adhesive flow and seal formation:
- Maintain consistent 6-8 inch distance from heat source
- Rotate connector during heating for even shrinkage
- Watch for adhesive bead formation at sleeve ends
- Allow complete cooling before stress testing
Quality Control Verification
Test every connection for reliability:
- Visual inspection: Check for complete shrinkage and adhesive seal
- Pull test: Verify mechanical strength of crimp connection
- Continuity test: Confirm electrical conductivity with multimeter
- Insulation test: Verify no short circuits to ground
Common Installation Problems and Solutions
| Problem | Cause | Solution |
|---|---|---|
| Incomplete shrinkage | Insufficient heat application | Increase heat time and temperature |
| Adhesive not flowing | Heat source too far away | Move heat gun closer (4-6 inches) |
| Sleeve splitting | Excessive heat or wrong size | Use lower temperature, verify connector size |
| Poor crimp connection | Wrong die size or insufficient pressure | Use correct crimping tool and die |
| Wire pullout | Inadequate strip length | Strip proper length per specifications |
Safety and Code Compliance
Electrical Code Requirements
National Electrical Code (NEC) compliance considerations:
- Article 110.14: Connection requirements for electrical equipment
- Article 400: Flexible cord and cable connections
- Article 680: Swimming pool and spa electrical installation
Professional Recommendations
When to use professional installation:
- High-voltage applications (over 50 volts)
- Critical safety systems (navigation, emergency lighting)
- Permanent building electrical systems
- Marine electrical systems requiring ABYC compliance
Troubleshooting Connection Failures
Moisture Infiltration Issues
Symptoms:
- Corrosion visible at connection point
- Intermittent electrical operation
- Increased resistance readings
Solutions:
- Verify complete adhesive seal formation
- Check for proper heat application during installation
- Consider upgrading to dual-wall marine connectors
Mechanical Failure Problems
Symptoms:
- Wire pullout from connector
- Complete electrical discontinuity
- Visible crimp barrel damage
Solutions:
- Verify proper crimping tool and die size usage
- Check wire gauge compatibility with connector
- Ensure adequate strip length for proper insertion
Quality Brands and Specifications
Recommended Manufacturers
Top-rated heat shrink connector brands:
- 3M: Marine and automotive grade connectors
- Ancor: Specialized marine electrical products
- TEMCo: Industrial and automotive applications
- Wire Nuts: Professional electrician grade
- Gardner Bender: Consumer and professional options
Performance Specifications
Minimum performance requirements:
- Temperature rating: -55°F to +257°F (-48°C to +125°C)
- Voltage rating: 600V minimum for safety
- Current capacity: Match or exceed circuit requirements
- Insulation resistance: Minimum 1000 megohms
- Waterproof rating: IP67 or higher for outdoor use
Frequently Asked Questions
What makes heat shrink butt connectors different from regular crimp connectors?
Heat shrink butt connectors provide waterproof protection through heat-activated adhesive sealing that standard crimp connectors cannot offer. The heat-shrink sleeve contracts when heated, creating a permanent environmental seal that prevents moisture infiltration and corrosion.
Can you reuse heat shrink butt connectors?
No, heat shrink butt connectors are designed for permanent, one-time installation. Once the heat-shrink sleeve contracts and adhesive activates, the connection cannot be reversed or reused without destroying the connector.
What temperature should you use to activate heat shrink connectors?
Use 300-400°F (150-200°C) for optimal heat shrink activation. Most household hair dryers operate at appropriate temperatures, while heat guns offer more precise temperature control for professional installations.
How do you know if a heat shrink connector is properly installed?
A properly installed heat shrink connector shows complete sleeve contraction with adhesive beading at both ends. The connection should pass pull tests and continuity checks while showing no exposed copper or loose crimp connections.
Are heat shrink butt connectors suitable for high-current applications?
Yes, when properly sized for the wire gauge and current requirements. Always verify the connector’s current rating exceeds your circuit demands, and ensure proper heat dissipation in high-current installations.
Can heat shrink connectors be used underwater?
Marine-grade heat shrink connectors with dual-wall construction and proper installation provide waterproof protection suitable for temporary submersion. However, permanent underwater installations require specialized submarine-grade connectors.
What’s the difference between single-wall and dual-wall heat shrink connectors?
Dual-wall connectors feature an additional adhesive layer that provides superior waterproofing and strain relief. Single-wall connectors offer basic environmental protection suitable for most automotive and general applications.
How long do heat shrink connections last?
Properly installed heat shrink connections can last 15-20 years in automotive applications and 10-15 years in marine environments. Lifespan depends on environmental conditions, installation quality, and connector grade.
Professional Installation Recommendations
When to Call a Professional:
- Marine electrical systems requiring ABYC certification
- High-voltage automotive modifications
- Commercial or industrial electrical installations
- Any work requiring electrical permits or inspections
Heat shrink butt connectors provide the ultimate solution for creating permanent, waterproof electrical connections in demanding environments. By following proper selection criteria, installation techniques, and safety guidelines, you can achieve professional-quality results that ensure long-term reliability and performance in automotive, marine, and industrial applications.

