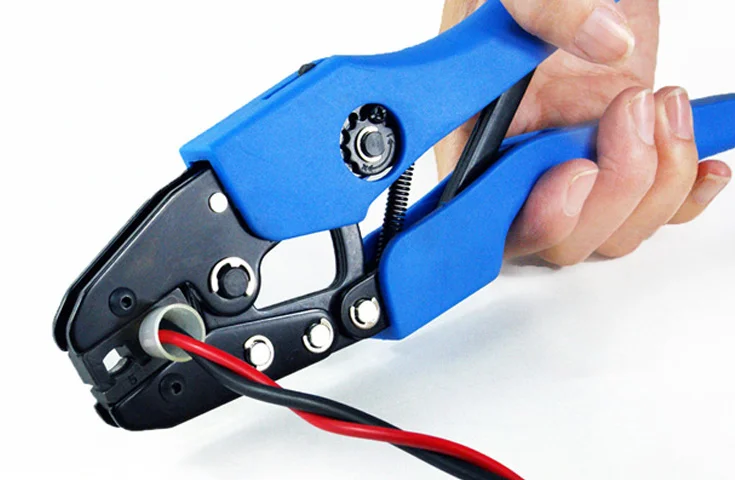
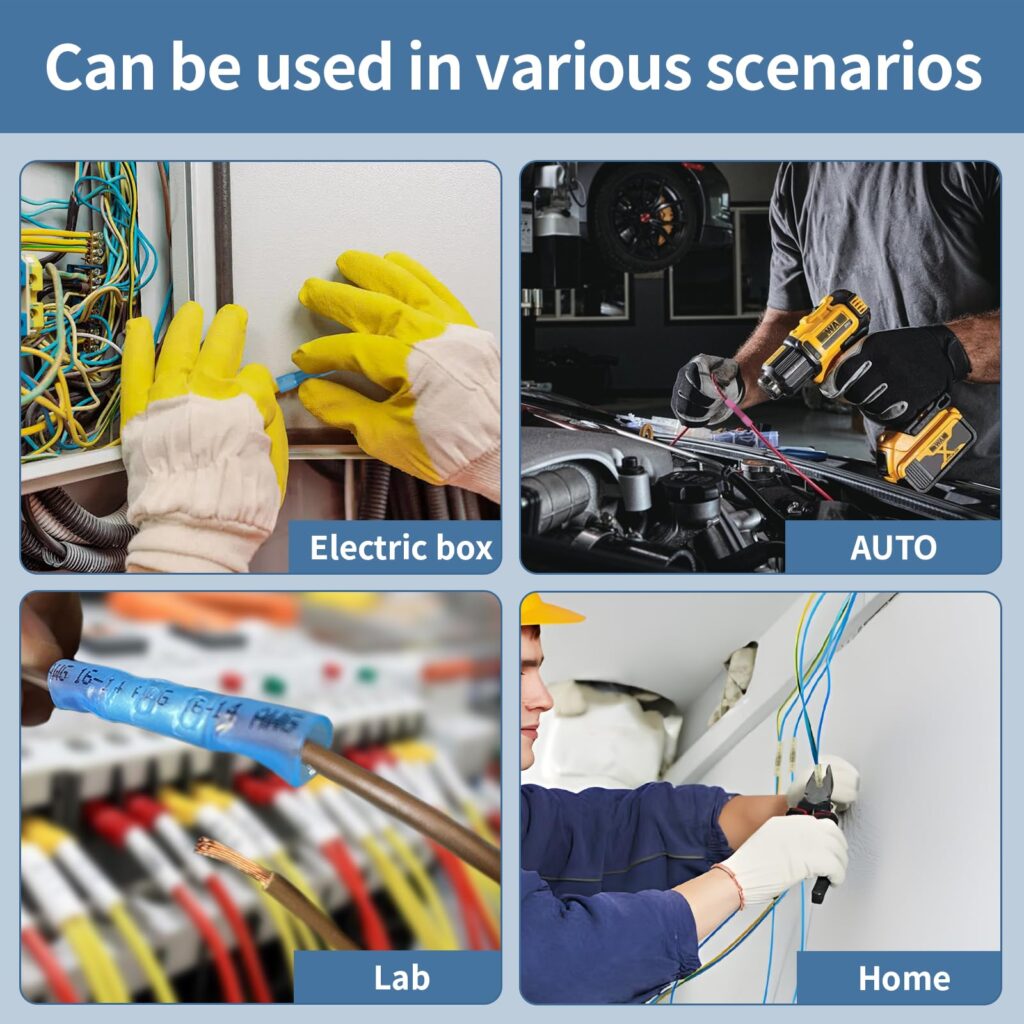
Wire crimping is a fundamental electrical connection method that uses mechanical pressure to permanently join conductors to terminals. When done correctly, crimped connections provide superior electrical conductivity, mechanical strength, and long-term reliability compared to twist-and-tape methods. This comprehensive guide covers everything you need to know about professional wire crimping techniques, safety requirements, and best practices.
What is Wire Crimping?

Wire crimping is the process of mechanically deforming a metal connector (crimp terminal) around stripped wire conductors to create a permanent electrical and mechanical connection. The crimping process creates cold welds between the wire strands and terminal, resulting in connections that often exceed the tensile strength of the original wire.
Key Benefits:
- Superior electrical conductivity (lower resistance than soldered joints)
- Faster installation than soldering
- More reliable in high-vibration environments
- Meets electrical code requirements for professional installations
- Repeatable, consistent connection quality
Essential Crimping Tools and Materials
Professional Crimping Tools
| Tool Type | Wire Gauge Range | Application | Price Range |
|---|---|---|---|
| Ratcheting Crimp Tool | 22-10 AWG | Insulated terminals | $15-$40 |
| Hydraulic Crimper | 4/0-14 AWG | Heavy-duty applications | $200-$500 |
| Wire Strippers | 30-10 AWG | Wire preparation | $10-$25 |
| Insulation Crimp Tool | 22-10 AWG | Heat shrink terminals | $20-$60 |
Terminal Types and Applications

| Terminal Type | Best Use | Wire Gauge | Features |
|---|---|---|---|
| Ring Terminals | Permanent screw connections | 22-4/0 AWG | Full circumference contact |
| Spade Terminals | Quick-disconnect applications | 22-10 AWG | Easy removal/insertion |
| Butt Connectors | Joining two wires | 22-10 AWG | Waterproof options available |
| Wire Nuts | Branch circuits (residential) | 18-10 AWG | Reusable connections |
Step-by-Step Wire Crimping Process
Step 1: Select Proper Terminal Size
- Match terminal size to wire gauge exactly
- Check current rating requirements
- Verify insulation diameter compatibility
- Consider environmental factors (moisture, temperature)
Step 2: Strip Wire Insulation
- Measure strip length using terminal as guide (typically 1/4″ to 3/8″)
- Use proper wire strippers to avoid nicking conductors
- Twist stranded wire clockwise to consolidate strands
- Inspect for damaged conductors and re-strip if necessary
Step 3: Insert Wire into Terminal
- Insert wire fully into terminal barrel
- Ensure no insulation enters crimp area
- Verify no copper strands extend beyond terminal
- Align wire and terminal properly in crimp tool
Step 4: Execute the Crimp
- Position terminal in correct crimp tool die
- Ensure proper alignment (wire perpendicular to tool)
- Apply steady, complete compression until tool releases
- Do not re-crimp or adjust after initial compression
Step 5: Quality Inspection
- Perform visual inspection for proper barrel deformation
- Check that wire cannot be pulled from terminal
- Verify no insulation in crimp area
- Test electrical continuity if critical application
Wire Gauge and Terminal Matching Guide
Standard Wire Gauge Specifications
| AWG Size | Diameter (inches) | Current Rating* | Terminal Color |
|---|---|---|---|
| 18 AWG | 0.040″ | 16A | Red |
| 16 AWG | 0.051″ | 22A | Red |
| 14 AWG | 0.064″ | 32A | Blue |
| 12 AWG | 0.081″ | 41A | Blue |
| 10 AWG | 0.102″ | 52A | Yellow |
*Current ratings based on 75°C copper conductor at 30°C ambient temperature
Critical Matching Requirements
Proper terminal selection prevents:
- Overheating due to high resistance
- Mechanical failure under load
- Code violations and inspection failures
- Fire hazards from loose connections
Safety Requirements and Code Compliance
National Electrical Code (NEC) Standards
- Article 110.14: Connection requirements for electrical equipment
- Article 300.13: Mechanical and electrical continuity
- Article 110.3(B): Listed equipment installation requirements
Professional Installation Standards
- Use only UL-listed terminals and crimping tools
- Follow manufacturer’s specified crimp dimensions
- Maintain proper torque specifications for screw terminals
- Ensure adequate wire fill for junction boxes
Common Crimping Mistakes and Solutions
Mistake #1: Wrong Terminal Size
Problem: Using oversized or undersized terminals
Solution: Always match terminal to exact wire gauge using manufacturer specifications
Mistake #2: Incomplete Crimps
Problem: Tool not fully compressed or multiple partial crimps
Solution: Use ratcheting tools that prevent release until full compression
Mistake #3: Damaged Conductors
Problem: Nicked wires from improper stripping
Solution: Use adjustable wire strippers and inspect before crimping
Mistake #4: Insulation in Crimp Area
Problem: Wire insulation caught in terminal barrel
Solution: Verify proper strip length and wire insertion depth
Advanced Crimping Techniques
Weather-Resistant Connections
- Use marine-grade terminals with tin plating
- Apply dielectric grease before crimping
- Use heat-shrink terminals for moisture protection
- Consider adhesive-lined heat shrink for permanent sealing
High-Vibration Applications
- Specify terminals with longer barrels for increased contact area
- Use ratcheting tools for consistent compression
- Consider strain relief methods
- Apply thread-locking compound on screw terminals
Professional Quality Control
Inspection Criteria
- Visual Check: Proper barrel deformation, no visible gaps
- Pull Test: Wire should not separate under moderate tension
- Electrical Test: Continuity and resistance measurements
- Torque Verification: Screw terminals to manufacturer specifications
Documentation Requirements
- Record terminal types and sizes used
- Note crimping tool calibration dates
- Maintain installation photos for critical connections
- Document electrical testing results
Tools and Equipment Recommendations
Entry-Level Setup ($50-$100)
- Klein Tools 1005 Wire Strippers
- Klein Tools 1010 Ratcheting Crimper
- Basic insulated terminal assortment
- Digital multimeter for testing
Professional Setup ($200-$500)
- Ideal Industries Crimpmaster Tool
- Hydraulic crimper for large conductors
- Professional terminal kit with organizer
- Torque specifications chart
Industrial Setup ($500+)
- Pneumatic crimping systems
- Computer-controlled crimp monitoring
- Specialized terminals for harsh environments
- Calibrated testing equipment
Troubleshooting Common Issues
Connection Overheating
Symptoms: Discolored terminals, melted insulation
Causes: Wrong terminal size, incomplete crimp, overloaded circuit
Solutions: Verify terminal ratings, re-crimp with proper tool, check circuit loading
Mechanical Failure
Symptoms: Wire pulls out of terminal
Causes: Inadequate crimp pressure, damaged conductors
Solutions: Use proper crimping tool, inspect wire condition before crimping
High Resistance Connections
Symptoms: Voltage drop, heating under load
Causes: Oxidized conductors, loose crimp
Solutions: Clean copper surfaces, ensure full tool compression
When to Call a Professional
Consult a licensed electrician for:
- Service panel connections
- High-voltage applications (>600V)
- Commercial or industrial installations
- Code compliance questions
- Unfamiliar terminal types or applications
Frequently Asked Questions
What’s the difference between crimping and soldering?
Crimping creates a mechanical cold-weld connection using pressure, while soldering uses heat to melt metal alloy between conductors. Crimping is faster, more reliable in vibration, and doesn’t introduce heat stress to wire insulation.
Can you re-crimp a connection if it looks wrong?
No, never re-crimp a terminal. The metal work-hardens during the first crimp, and additional compression can cause cracking or poor electrical contact. Cut off the terminal and start fresh.
How tight should screw terminals be torqued?
Follow manufacturer specifications, typically 10-12 inch-pounds for #10 screws and 35-50 inch-pounds for 1/4″ terminals. Over-torquing can strip threads or crack terminals.
What wire gauge should I use for automotive applications?
Automotive applications typically use 18-10 AWG wire depending on current load. Consult vehicle wiring diagrams and fuse ratings. Marine applications require tinned copper wire for corrosion resistance.
Are pre-insulated terminals required by code?
While not always required, insulated terminals provide additional safety by preventing accidental contact with live conductors. They’re mandatory in many commercial applications and highly recommended for all installations.
How do you test crimp quality?
Perform a gentle pull test – the wire should not separate from the terminal under moderate hand pressure. For critical applications, use a calibrated pull tester per manufacturer specifications.
What’s the shelf life of crimp terminals?
Quality terminals stored in dry conditions have indefinite shelf life. Inspect for corrosion, cracked insulation, or deformed barrels before use. Discard any terminals showing signs of deterioration.
Can aluminum wire be crimped the same as copper?
No, aluminum requires special terminals and techniques due to oxidation and thermal expansion differences. Use only AL-rated terminals and apply anti-oxidant compound before crimping.
Quick Reference Checklist
Before Starting:
- Power verified OFF with tester
- Correct terminal size selected
- Proper crimping tool available
- Wire strippers adjusted to gauge
- Safety equipment worn
During Crimping:
- Wire stripped to correct length
- Conductors twisted and clean
- Terminal fully inserted
- Tool properly aligned
- Single, complete compression
Quality Check:
- Visual inspection passed
- Pull test completed
- No insulation in crimp area
- Proper torque on screw terminals
- Electrical continuity verified
Conclusion
Proper wire crimping requires the right tools, correct technique, and attention to safety standards. When done correctly, crimped connections provide superior reliability and meet all electrical code requirements. For complex installations or unfamiliar applications, consult with a licensed electrician to ensure safety and code compliance.

