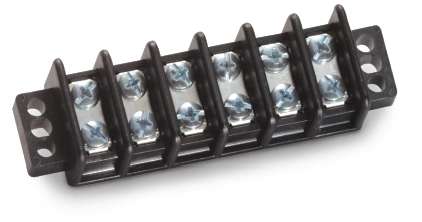
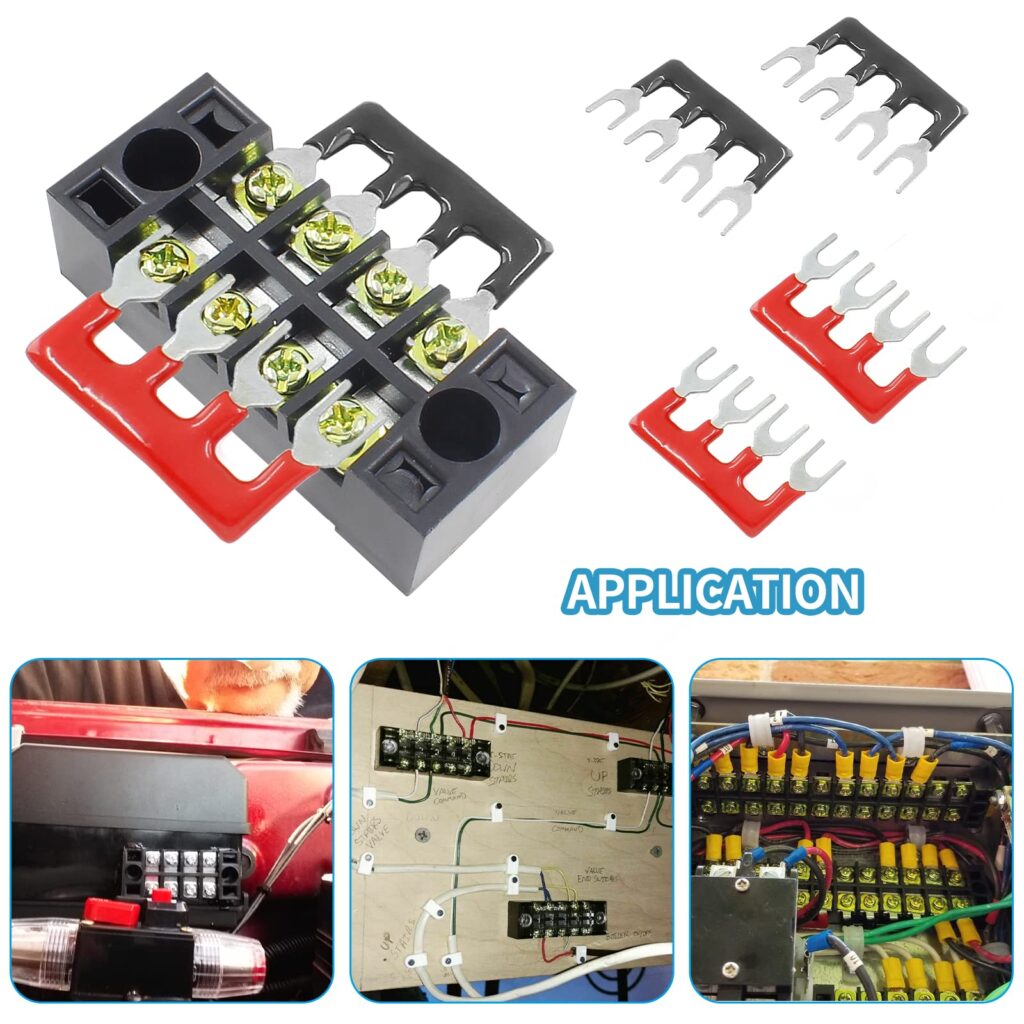
A terminal block is a modular, screw-type electrical connector that allows you to safely connect multiple wires together in electrical panels, control systems, and industrial equipment. These connectors provide secure, removable connections while maintaining proper electrical isolation and meeting safety codes.
Terminal blocks solve the critical problem of making reliable electrical connections in complex systems where multiple circuits need to be organized, tested, and maintained efficiently.
Key Definitions and Components
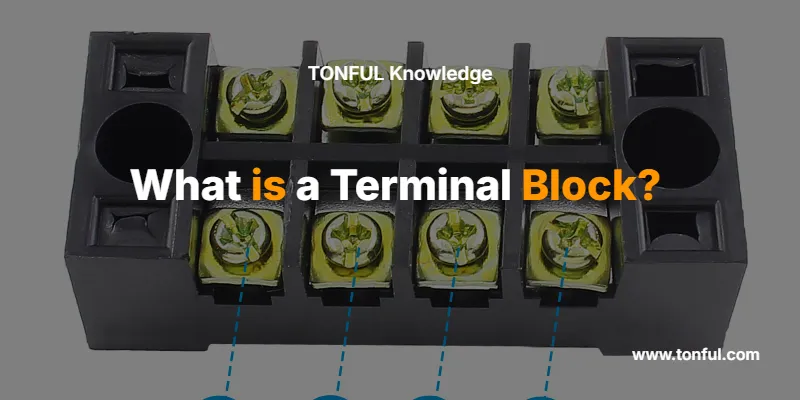
What is a Terminal Block?

A terminal block consists of a plastic or ceramic insulating base with metal contact points secured by screws or spring-loaded mechanisms. Each terminal provides a connection point where you can insert and secure wire ends, creating a junction point for electrical circuits.
Essential Components
Contact Elements: Metal strips (typically copper or brass) that conduct electricity between connected wires
Insulating Housing: Non-conductive plastic or ceramic body that prevents electrical contact between adjacent terminals
Screw Terminals: Threaded fasteners that clamp down on wire ends to create secure electrical connections
Wire Entry Points: Openings designed to accommodate specific wire gauges and types
Mounting Rails: DIN rail systems that allow quick installation and removal in electrical panels
Terminal Block Types: Complete Comparison
Here is a table that shows the main types of terminal blocks and their key characteristics:
| Terminal Block Type | Wire Capacity | Voltage Rating | Primary Applications | Installation Method | Cost Range |
|---|---|---|---|---|---|
| Screw Terminal | 12-4 AWG | 300-600V | General wiring, control panels | Screw clamp | $0.50-$5.00 |
| Spring Cage | 24-12 AWG | 250-500V | Quick connections, vibration environments | Push-in/Pull-out | $1.00-$8.00 |
| Barrier Strip | 20-6 AWG | 150-600V | Point-to-point wiring | Screw terminals | $0.25-$2.00 |
| Feed-Through | 24-6 AWG | 300-1000V | Signal distribution | Various | $0.75-$4.00 |
| Disconnect | 16-6 AWG | 250-600V | Circuit isolation, testing | Removable links | $2.00-$15.00 |
| Fuse Terminal | 20-10 AWG | 250-600V | Overcurrent protection | Fuse holder integrated | $5.00-$25.00 |
What Makes Terminal Blocks Different From Wire Nuts?
Terminal blocks provide several advantages over traditional wire nuts and other connection methods:
Accessibility: You can easily disconnect and reconnect wires without cutting or splicing
Organization: Multiple circuits can be grouped and labeled in organized rows
Testing Capability: Individual circuits can be isolated and tested without disturbing other connections
Code Compliance: Terminal blocks meet NEC and IEC standards for industrial and commercial installations
Vibration Resistance: Mechanical connections maintain integrity in high-vibration environments
Higher Current Capacity: Terminal blocks handle larger wire gauges and higher amperage ratings
Applications and Use Cases

Industrial Control Systems
Terminal blocks serve as the backbone of industrial control panels, connecting:
- PLC input/output modules to field devices
- Motor control circuits to power sources
- Safety systems to emergency stop circuits
- Instrumentation signals to control systems
Building Automation
In commercial building systems, you’ll find terminal blocks in:
- HVAC control panels connecting thermostats and damper controls
- Fire alarm systems linking detection devices to control panels
- Lighting control systems connecting sensors to relay modules
- Security system panels joining door contacts and motion detectors
Electrical Distribution
Terminal blocks organize power distribution in:
- Electrical panels connecting branch circuits to main feeds
- Junction boxes consolidating multiple wire runs
- Meter bases connecting utility feeds to customer panels
- Solar installations linking panel strings to inverters
How to Select the Right Terminal Block
Step 1: Determine Wire Requirements
Calculate your wire gauge needs based on circuit amperage:
- Use 12 AWG for 20-amp circuits
- Use 14 AWG for 15-amp circuits
- Use 10 AWG for 30-amp circuits
Step 2: Check Voltage Ratings
Ensure terminal blocks exceed your system voltage:
- 300V rating for standard 120/240V systems
- 600V rating for 277/480V commercial systems
- 1000V rating for industrial high-voltage applications
Step 3: Consider Environmental Factors
Temperature Range: Standard blocks handle -40°F to +221°F (-40°C to +105°C)
Humidity Resistance: Look for IP20 rating minimum for dry locations
Chemical Resistance: Specify nylon or polyamide housings for harsh environments
Step 4: Evaluate Installation Requirements
DIN Rail Mounting: Choose 35mm DIN rail compatible blocks for panel installations
Panel Space: Calculate spacing requirements – typically 0.2″ to 0.4″ per terminal
Wire Entry: Select top, side, or 45-degree entry based on panel layout
Safety Requirements and Code Compliance
⚠️ Safety Warning: Always disconnect power before working on terminal block connections. Verify de-energized state with proper test equipment.
National Electrical Code (NEC) Requirements
Article 110.14: Terminal blocks must be suitable for the conductor material (copper or aluminum)
Article 312: Terminal connections in panels must provide adequate working space
Article 408: Panelboard terminals must be arranged to prevent unintentional contact
UL Listing Requirements
Look for these UL certifications:
- UL 1059: Terminal blocks for electrical equipment
- UL 486A: Wire connectors and soldering lugs
- UL 508A: Industrial control panels
Installation Best Practices
Step-by-Step Installation Process
- Power Isolation: De-energize all circuits and verify with voltage tester
- DIN Rail Mounting: Snap terminal blocks onto 35mm DIN rail with proper spacing
- Wire Preparation: Strip wire ends to manufacturer specifications (typically 0.4″ to 0.6″)
- Terminal Connection: Insert wire fully into terminal opening and tighten screw to specified torque
- Verification: Gently tug each wire to confirm secure connection
- Labeling: Mark terminals with circuit identifiers using appropriate labels
Professional Installation Tips
💡 Expert Tip: Use ferrules on stranded wire ends to prevent strand separation and ensure proper contact area.
💡 Expert Tip: Apply dielectric grease to aluminum wire connections to prevent oxidation and maintain conductivity.
💡 Expert Tip: Install spare terminal blocks during initial installation for future expansion needs.
Common Problems and Troubleshooting
Loose Connections
Symptoms: Intermittent operation, hot terminals, voltage drops
Solutions:
- Retighten terminal screws to manufacturer torque specifications
- Check for proper wire strip length and full insertion
- Replace terminals showing signs of arcing or overheating
Wire Strand Damage
Symptoms: Broken wire strands, poor connections
Solutions:
- Use wire ferrules on all stranded conductors
- Replace damaged wire sections completely
- Ensure proper wire gauge for terminal capacity
Overheating Issues
Symptoms: Discolored terminals, melted insulation, burning odors
Solutions:
- Verify proper terminal sizing for circuit amperage
- Check for loose connections causing high resistance
- Ensure adequate ventilation around terminal blocks
Terminal Block Specifications Reference
Here is a table that shows standard terminal block specifications for different applications:
| Application | Recommended Type | Wire Range | Voltage Rating | Temperature Rating | Special Features |
|---|---|---|---|---|---|
| Control Circuits | Spring cage | 24-14 AWG | 300V | -40°C to +100°C | Quick disconnect |
| Power Distribution | Screw terminal | 12-4 AWG | 600V | -40°C to +105°C | High current capacity |
| Signal Circuits | Feed-through | 24-18 AWG | 250V | -25°C to +80°C | Low noise design |
| Motor Control | Disconnect type | 14-8 AWG | 600V | -40°C to +105°C | Test disconnect feature |
| Instrumentation | Barrier strip | 20-14 AWG | 300V | -10°C to +60°C | Isolated channels |
Frequently Asked Questions
What wire gauge can terminal blocks handle?
Terminal blocks accommodate wire ranges from 24 AWG to 4 AWG depending on the model. Standard terminal blocks handle 12-14 AWG wire commonly used in residential and commercial applications, while heavy-duty blocks accept up to 4 AWG for high-current industrial circuits.
How do you wire a terminal block properly?
Strip wire ends to the specified length (typically 0.4-0.6 inches), insert the wire fully into the terminal opening, and tighten the screw to the manufacturer’s torque specification. Always verify the connection by gently tugging the wire to ensure it’s secure.
What’s the difference between terminal blocks and junction boxes?
Terminal blocks are connection devices installed inside junction boxes or electrical panels. The junction box provides the enclosure and environmental protection, while terminal blocks provide the actual wire connection points and organization system.
Can you use terminal blocks for outdoor applications?
Yes, but you must use terminal blocks with appropriate IP ratings and weatherproof enclosures. Look for IP65 or higher ratings for direct weather exposure, and ensure the enclosure provides adequate protection for your specific environmental conditions.
How many wires can you connect to one terminal?
Most standard terminal blocks accept one wire per side (two wires total per terminal). However, some specialty blocks allow multiple wires per terminal. Always check the manufacturer’s specifications and current capacity when connecting multiple wires.
What torque specifications should you use for terminal screws?
Torque specifications vary by manufacturer and terminal size, typically ranging from 7-9 inch-pounds for small terminals to 35-50 inch-pounds for large power terminals. Always consult the manufacturer’s documentation for exact specifications.
Are terminal blocks better than wire nuts for panel wiring?
Terminal blocks provide superior organization, accessibility, and testing capability compared to wire nuts. They’re required by code for most commercial and industrial applications and offer better long-term reliability in vibration environments.
How do you test circuits connected through terminal blocks?
Terminal blocks allow easy circuit testing by providing accessible test points. You can measure voltage, current, and continuity directly at the terminals, or use test disconnect blocks to isolate individual circuits without disturbing other connections.
Professional Installation and Maintenance
When to Consult an Electrician
While terminal blocks are straightforward to use, consult a licensed electrician for:
- High-voltage installations (over 600V)
- Complex industrial control systems
- Code compliance verification
- Safety system connections
Maintenance Schedule
Monthly: Visual inspection for loose terminals, signs of overheating
Quarterly: Torque verification on critical connections
Annually: Complete electrical testing and terminal replacement as needed
Conclusion
Terminal blocks provide the essential connection infrastructure for safe, organized, and maintainable electrical systems. By understanding the different types, proper selection criteria, and installation best practices, you can ensure reliable electrical connections that meet code requirements and provide years of trouble-free service.
Whether you’re organizing control panel wiring, distributing power in industrial systems, or connecting instrumentation circuits, the right terminal block selection and proper installation techniques will deliver professional results that stand the test of time.
For complex installations or high-voltage applications, always consult with a qualified electrician to ensure code compliance and optimal safety performance.

