
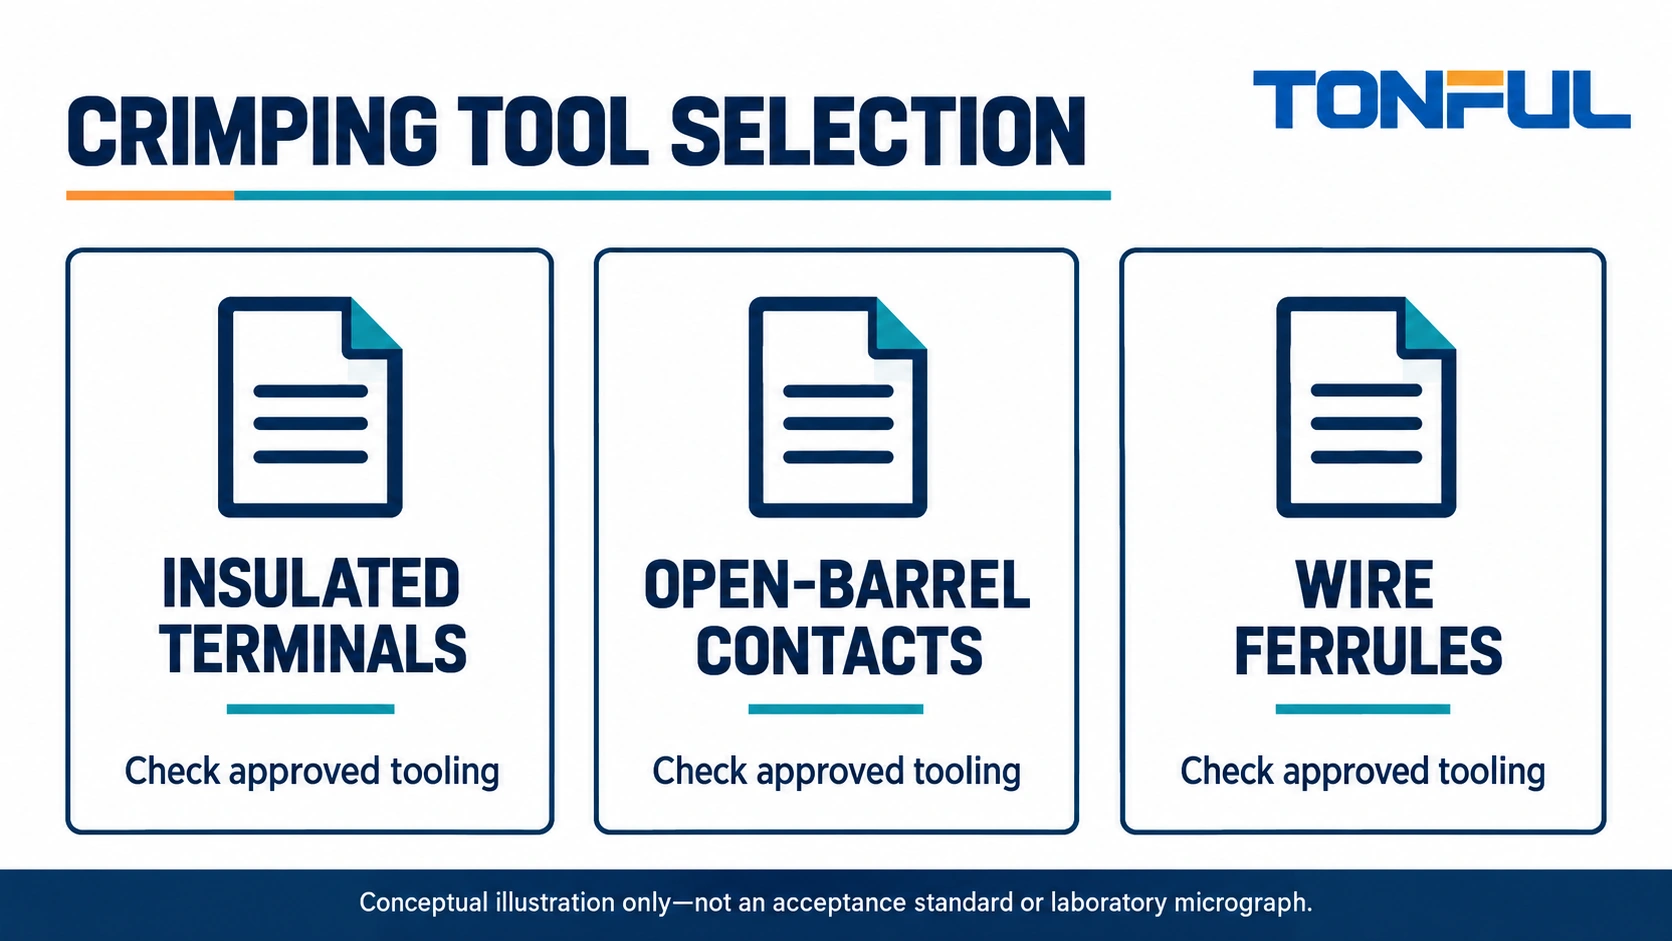
Choosing crimping tools starts with the terminal construction, not the handle color or the largest wire size printed on the tool. An insulated ring terminal, an open-barrel housing contact and a ferrule perform different jobs. Their crimping systems must form different metal features without damaging the conductor or preventing the completed termination from fitting its connection point.
The useful buying question is therefore: which documented terminal, wire, tool, die and setup combination can produce an acceptable termination for this application? A ratchet alone cannot answer that question, and a tool advertised for a broad wire range does not approve every terminal within that range.
Use the following family comparison, approval matrix and first-piece workflow when specifying hand tooling or reviewing a supplier’s recommendation. These are selection controls, not substitute crimp dimensions or universal pull-force requirements.
Jump to: Define compatibility, Compare families, Build the matrix, Approve samples, Control use, Request a quotation.
Define the Tooling Compatibility Chain
Identify the exact parts before selecting a frame
Record terminal part number and drawing revision, conductor material, strand construction, cross-sectional area and insulation diameter. Nominal wire area is necessary but not sufficient: different strand constructions and insulation walls can change how a wire fits the barrel and support features.
Next identify the tool frame, die set, cavity, locator and any adjustable support setting. Some systems use integrated tooling; others use interchangeable components. A frame that accepts a die physically does not establish that the combination is approved for the chosen terminal.
Finally identify the receiving connection. A ferrule must enter the specified clamp after crimping. A ring must fit the equipment’s stud and mounting space. A housing contact must fit its cavity and lock correctly. Passing a crimp inspection while failing installation fit is not a successful tooling selection.
TE’s hand-tool selection guidance illustrates how tooling architecture, locators and insulation adjustments depend on the product being applied. This supports matching a complete system, not assuming that another manufacturer’s tool becomes interchangeable through similar appearance.
Keep catalog claims separate from approval evidence
Use the TONFUL crimping-tool range to identify candidates, then ask which specific terminal and wire combinations the recommendation covers. Request the applicable instructions and sample evidence. A generic phrase such as professional crimper is not a controlled compatibility statement.
For work on installed equipment, isolate all electrical energy sources and verify the safe condition under the equipment procedure before stripping or terminating conductors. Tool insulation or a comfortable handle does not authorize live-circuit work.
Compare the Three Terminal Families
Insulated terminals require the correct barrel and sleeve treatment
An insulated ring, fork or disconnect normally has a conductive crimp region beneath or adjacent to its insulating sleeve. The approved tool must form the intended metal barrel without splitting, excessively distorting or trapping the sleeve incorrectly. The manufacturer’s instructions establish where the die acts and how the terminal is positioned.
Color coding can help operators select among a known product system, but it does not establish compatibility across unrelated suppliers. Check wire range, barrel design and insulation construction on the exact part. Do not solve an oversized terminal by removing strands or solve a small barrel by forcing the wire into it.
The nylon-insulated terminal category provides product-family context, not a promise that one generic insulated-terminal die covers every listed part. Non-insulated versions may require a different profile even when the tongue looks identical.
Open-barrel contacts require controlled orientation
Open-barrel contacts commonly have separate conductor and insulation-support features. Tooling must form the designated wings while protecting the mating section, locking features and transition. A locator helps position the part so the die works on the intended region rather than crushing a feature needed by the housing.
Some designs support a wire seal rather than ordinary insulation. Use the exact seal, wire and tooling instructions; do not apply a generic insulation-support setting to a sealed contact. The mating contact and locking lance must remain undamaged after crimping and handling.
Ferrules require compatible formed size and length
A ferrule is a sleeve over stripped conductor strands. The metal sleeve is crimped; its plastic collar is not a substitute crimp zone. Profile choice must suit the ferrule and receiving terminal, including available entry space, sleeve length and the clamp’s permitted conductor range with ferrules.
Review cord-end terminal options against the actual receiving-device instructions. Square, hexagonal or other profiles are not universally superior. A profile that fits one clamp may interfere with another, especially near the upper end of the permitted range.
| Family | Main tooling decision | Fit check after crimping | Common selection trap |
|---|---|---|---|
| Insulated terminal | Barrel and sleeve-compatible die | Tongue access and undamaged insulation | Choosing from color alone |
| Open-barrel contact | Conductor/support forming and locator | Housing insertion and retention | Crushing mating or locking features |
| Ferrule | Sleeve size, length and formed profile | Full insertion into approved clamp | Crimping collar or assuming universal profile |
Build a Crimping Tool Approval Matrix
Make compatibility a controlled record
Create one row for each released combination, not one row for every tool on a shelf. A useful matrix connects the work instruction to the actual components operators will receive. Include revision control so a changed terminal barrel or wire construction triggers review rather than silently inheriting an old approval.
| Matrix field | Required entry | Review question |
|---|---|---|
| Terminal identity | Part number and drawing revision | Is the exact barrel covered? |
| Wire identity | Material, strand construction, area, insulation diameter | Was this construction evaluated? |
| Tool assembly | Frame, die, cavity and locator IDs | Are all components compatible? |
| Setup | Orientation, support adjustment, strip instruction | Can an operator reproduce it? |
| Acceptance | Governing document and revision | Which dimensions and observations apply? |
| Receiving point | Housing, stud or clamp identity | Does the finished termination fit? |
| Release evidence | Sample IDs, checks, approver and date | Can the approval be traced? |
Keep unapproved substitutions visibly separate from released combinations. Where a supplier proposes an equivalent die, ask for the basis of equivalence and application-specific evidence. Similar cavity markings or a matching wire range do not demonstrate the same formed result.
The non-insulated terminal range can require its own rows rather than sharing the insulated family’s setup. Differences in barrel construction matter more than a common ring or fork outline.

Verify First-Piece Samples Before Release
Inspect preparation and geometry first
Use representative wire and terminals from identified lots. Confirm the stripping method leaves the intended conductor length without cut strands or damaged insulation. Check terminal orientation and complete insertion before operating the tool according to its instructions.
Inspect the completed sample for conductor capture, insulation position, correct crimp location and undamaged functional features. Measure specified dimensions using the approved method. Do not assume the same dimensional checks apply to all three families, and do not invent a universal crimp height from wire area.
For housing contacts, verify insertion and approved retention checks in the specified housing. For ferrules, check permitted insertion and clamp engagement in a representative receiving terminal. For rings and forks, verify hole, tongue and sleeve clearances without forcing the assembly into place.
Use prescribed tests, not improvised acceptance
If pull testing is required, take sample quantity, speed, fixture, equipment range and acceptance values from the governing specification or approved plan. Record whether insulation support is engaged and where failure occurs. A hand tug is not a replacement for a controlled destructive test, and a destructive test sample should not be returned to service.
Where electrical checks are required, define current, measurement boundaries, probe positions and temperature conditions. Record the initial result and any required conditioned result. A continuity beep detects neither every weak mechanical termination nor every application-dependent resistance problem.
Use cross-section analysis only where required or justified by the qualification question, with a documented section location and acceptance source. A generic diagram cannot establish metal compression or strand condition in an actual crimp.

Control Tools Through Production and Service
Match maintenance to the tool system
Keep dies clean and inspect them for damage, wear and incorrect assembly using the manufacturer’s instructions. Control any adjustment that affects the formed termination. Operators should not change ratchet settings to make an unsuitable terminal feel easier to crimp.
Record tool identity at the workstation and protect interchangeable dies from mixed storage. Maintenance, verification and calibration requirements depend on the equipment and quality system; do not label every hand tool calibrated without a defined verification method and status record.
Trigger first-piece review after a die change, maintenance affecting setup, terminal change, wire change or restart condition identified in the control plan. When a defect is found, contain work since the last verified acceptable condition and investigate the relevant tool, material and preparation records.
Consider operator access and workload
A technically compatible hand tool can still be unsuitable for repetitive production because of access, handling or workload. Evaluate representative work, including loading, positioning, inspection and removal. Compare powered or bench-assisted alternatives using verified cycle observations rather than advertised stroke speed alone.
Keep repair tooling controlled separately where it serves a different approved purpose from production equipment. A service tool may be appropriate for an authorized repair without becoming the preferred tooling for a large recurring order.
Plan a controlled replacement
Before retiring a worn tool, identify every released combination that depends on it. Verify whether a replacement uses the same die and locator or requires a new setup approval. Keep representative accepted samples and associated records available to the reviewer, but do not treat an old sample as the sole acceptance standard. The drawing and controlled instructions remain authoritative. Label the replacement’s status clearly so production does not confuse purchased, inspected and released equipment.
Prepare a Tooling Request for TONFUL
Send the interface, not just the wire size
Provide terminal drawings or exact part identities, wire construction, insulation diameter, receiving connection, expected production mix and available inspection equipment. Include any required customer specifications and whether you need loose-piece manual tooling or a production-system discussion.
Ask TONFUL to identify the proposed tool, die and locator combination, the supported wire and terminal ranges, relevant instructions, and the evidence needed to approve samples. Use the wire-terminal manufacturing page to frame a component-and-tool discussion, while keeping final approval tied to your application documents.
The most useful quotation is not simply a tool price. It is a clear boundary around what the tooling is intended to crimp, how the setup is controlled and what evidence will demonstrate an acceptable result. That boundary makes procurement, training and later change control much easier to manage.